Recent Posts
11
Tutorials / Re: A Simple Flower
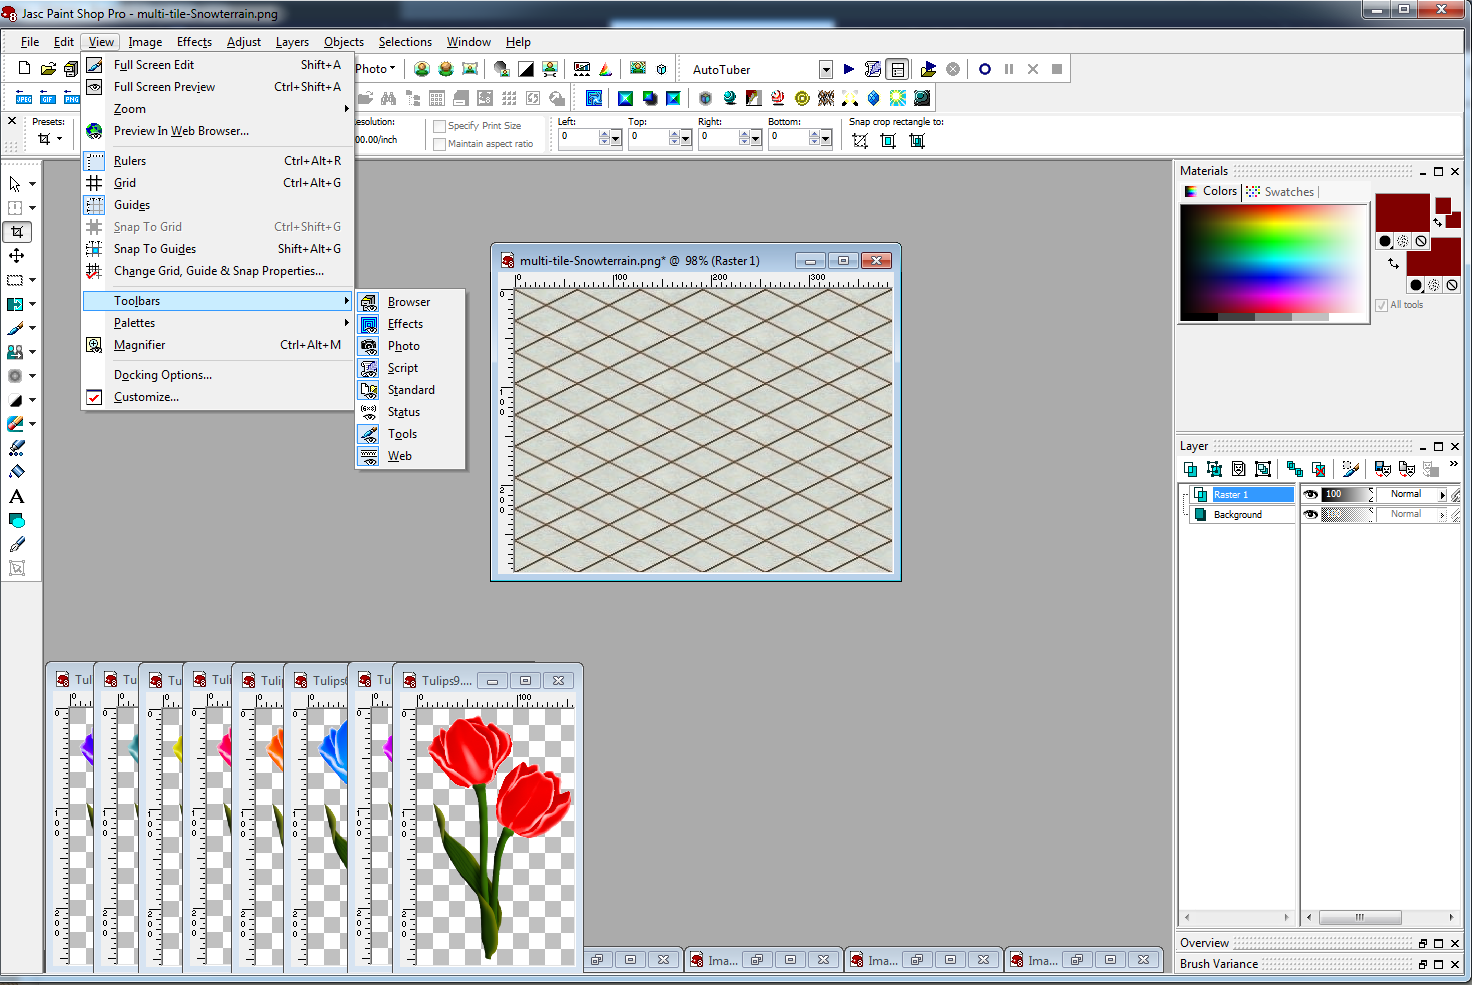
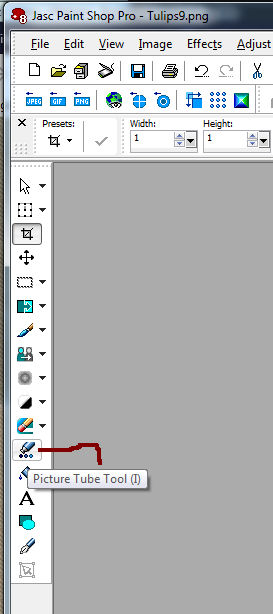
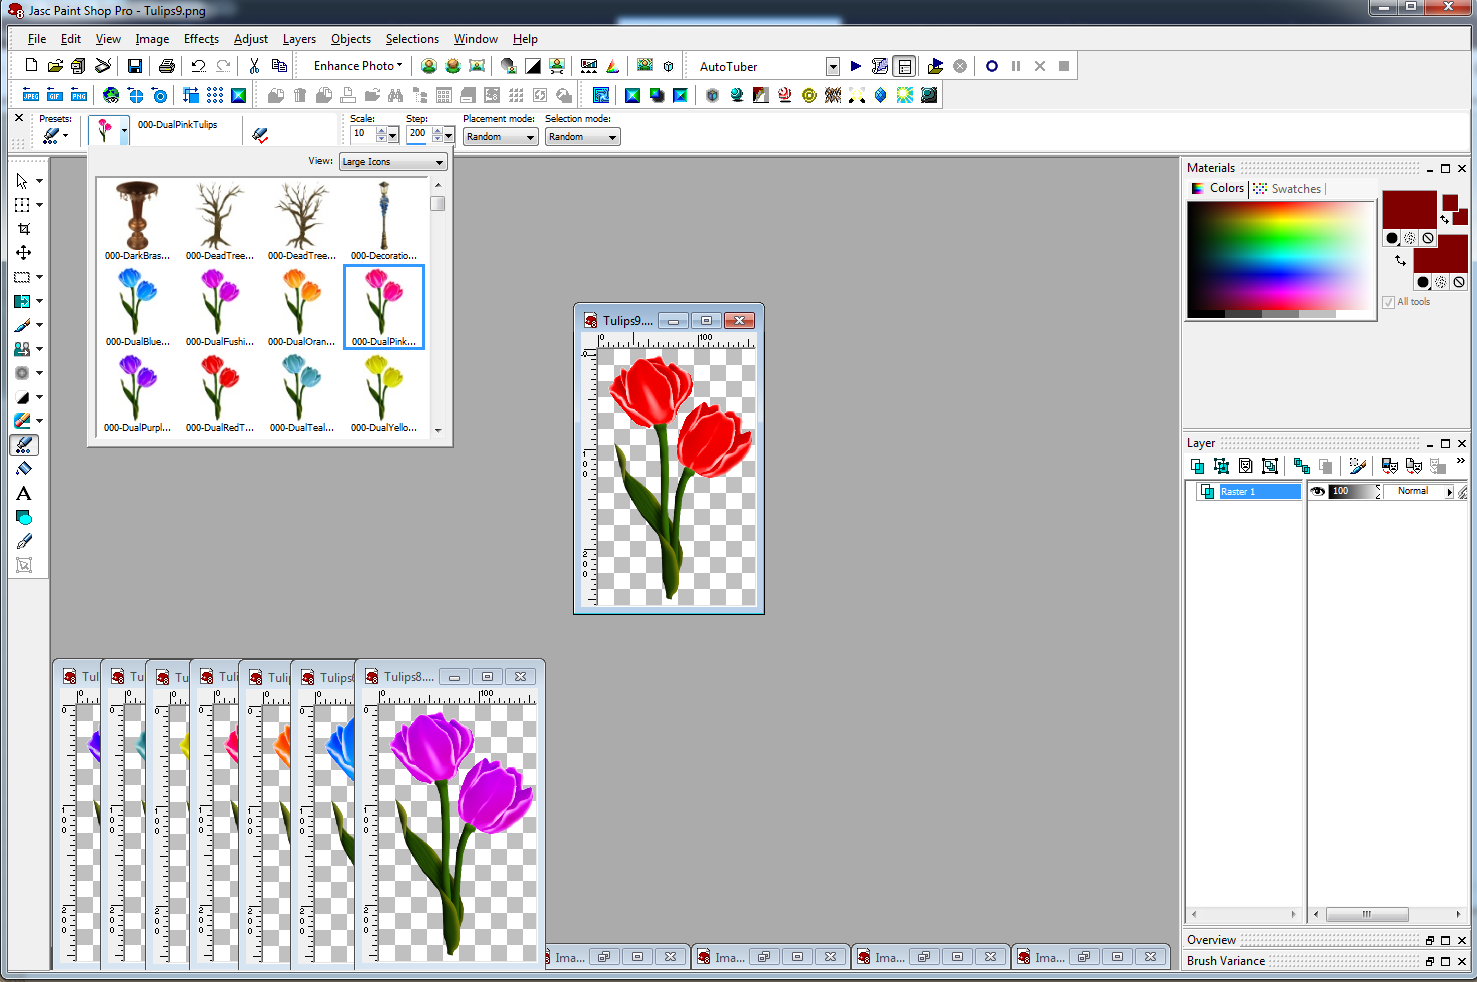
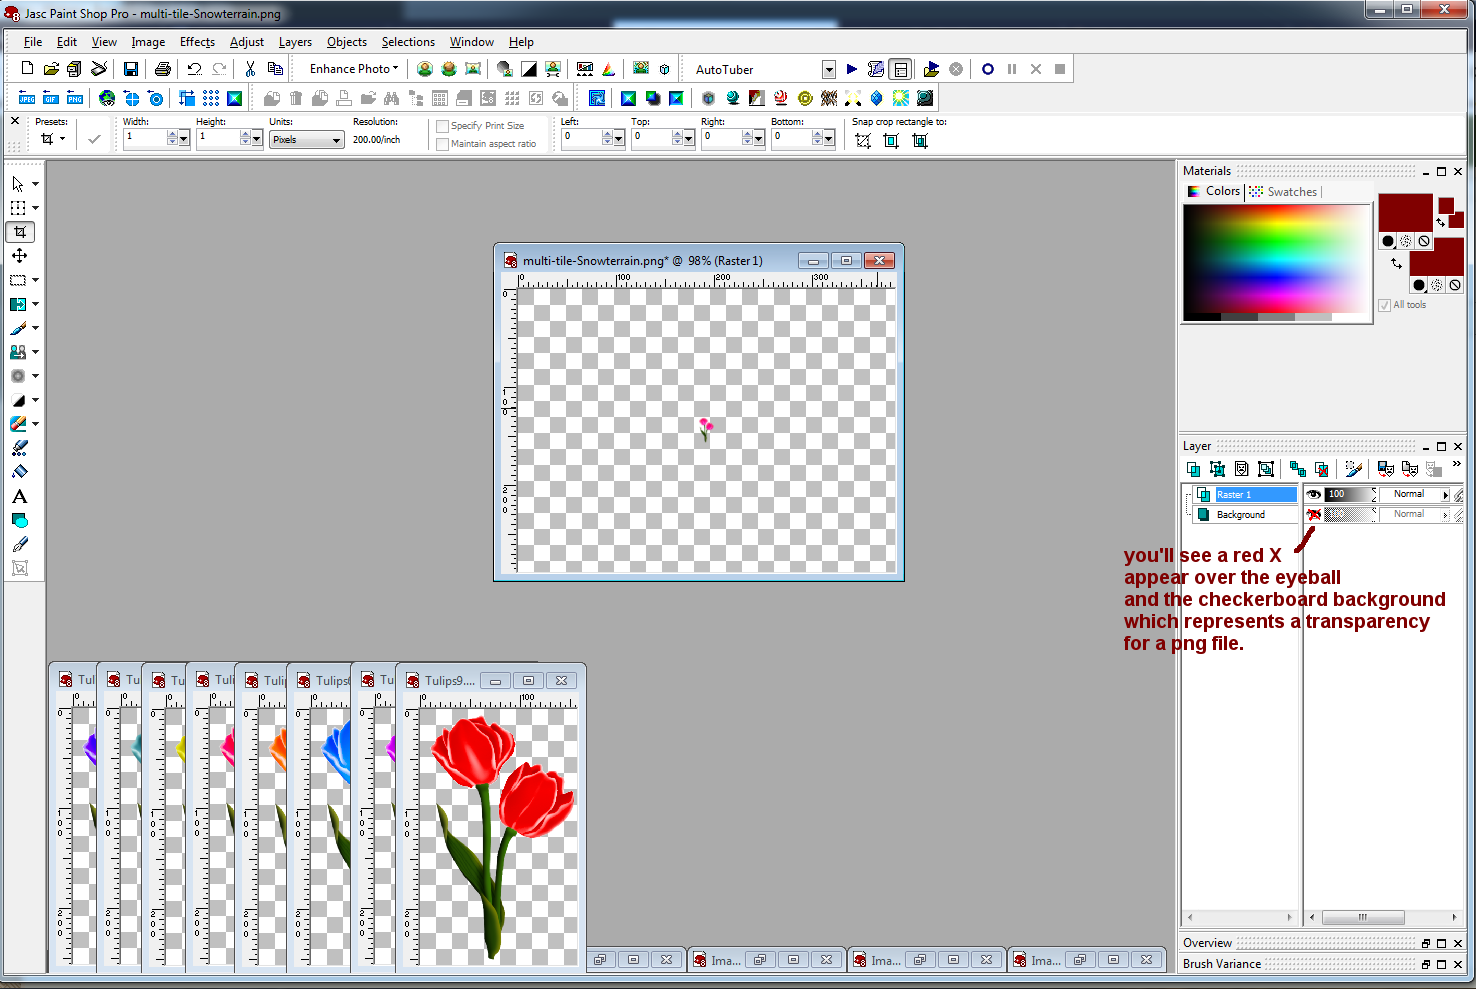
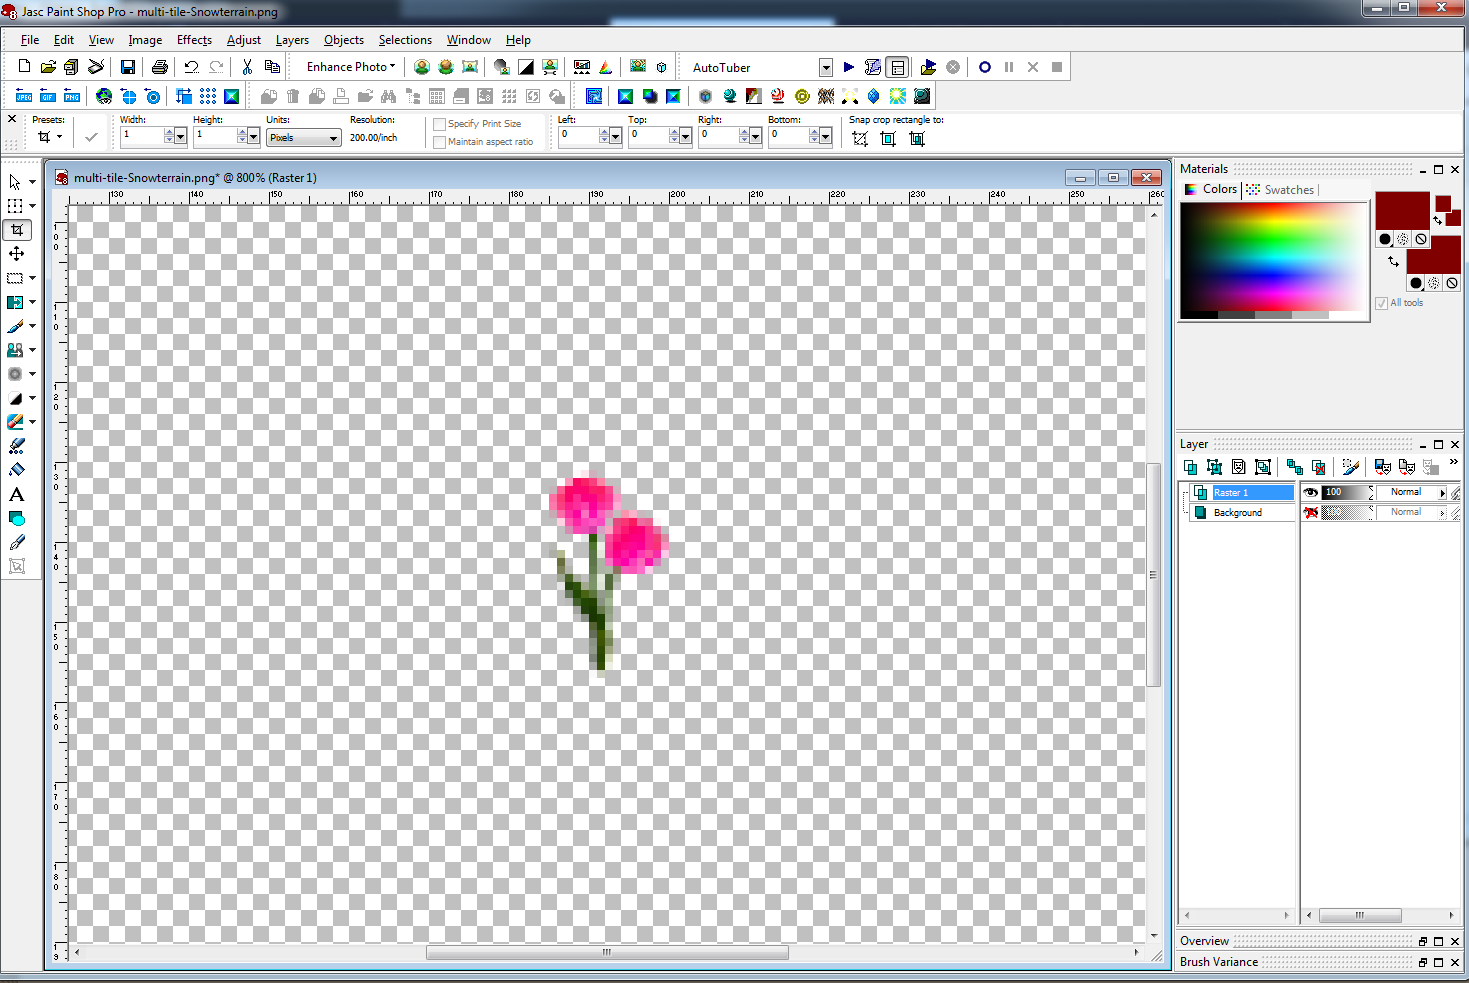
« Last post by Yellowrose on August 11, 10, 07:10:56 PM »You may decide differently but I decided some of these ghost pixels around the tulip blossoms and a few around the stem need to be deleted so select the eraser tool from the left hand side icon menu. It looks like a pencil with an eraser on the end. Use the drop down to select the eraser rather then the background eraser. the background eraser tool usage will be explained in another tutorial.
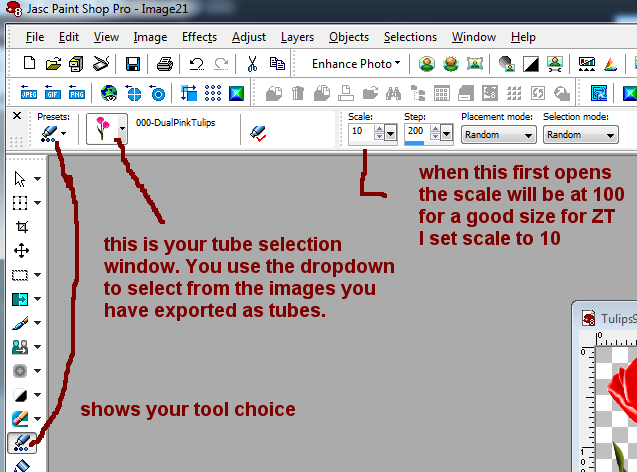
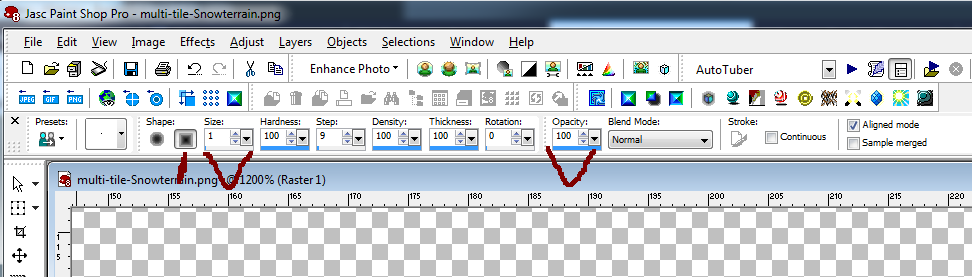
with the eraser tool selected we now need to set up our tool options. if you look at the top of the workspace you'll notice the tube tool preset is now replaced with the eraser tool preset so just adjust your settings like mine.
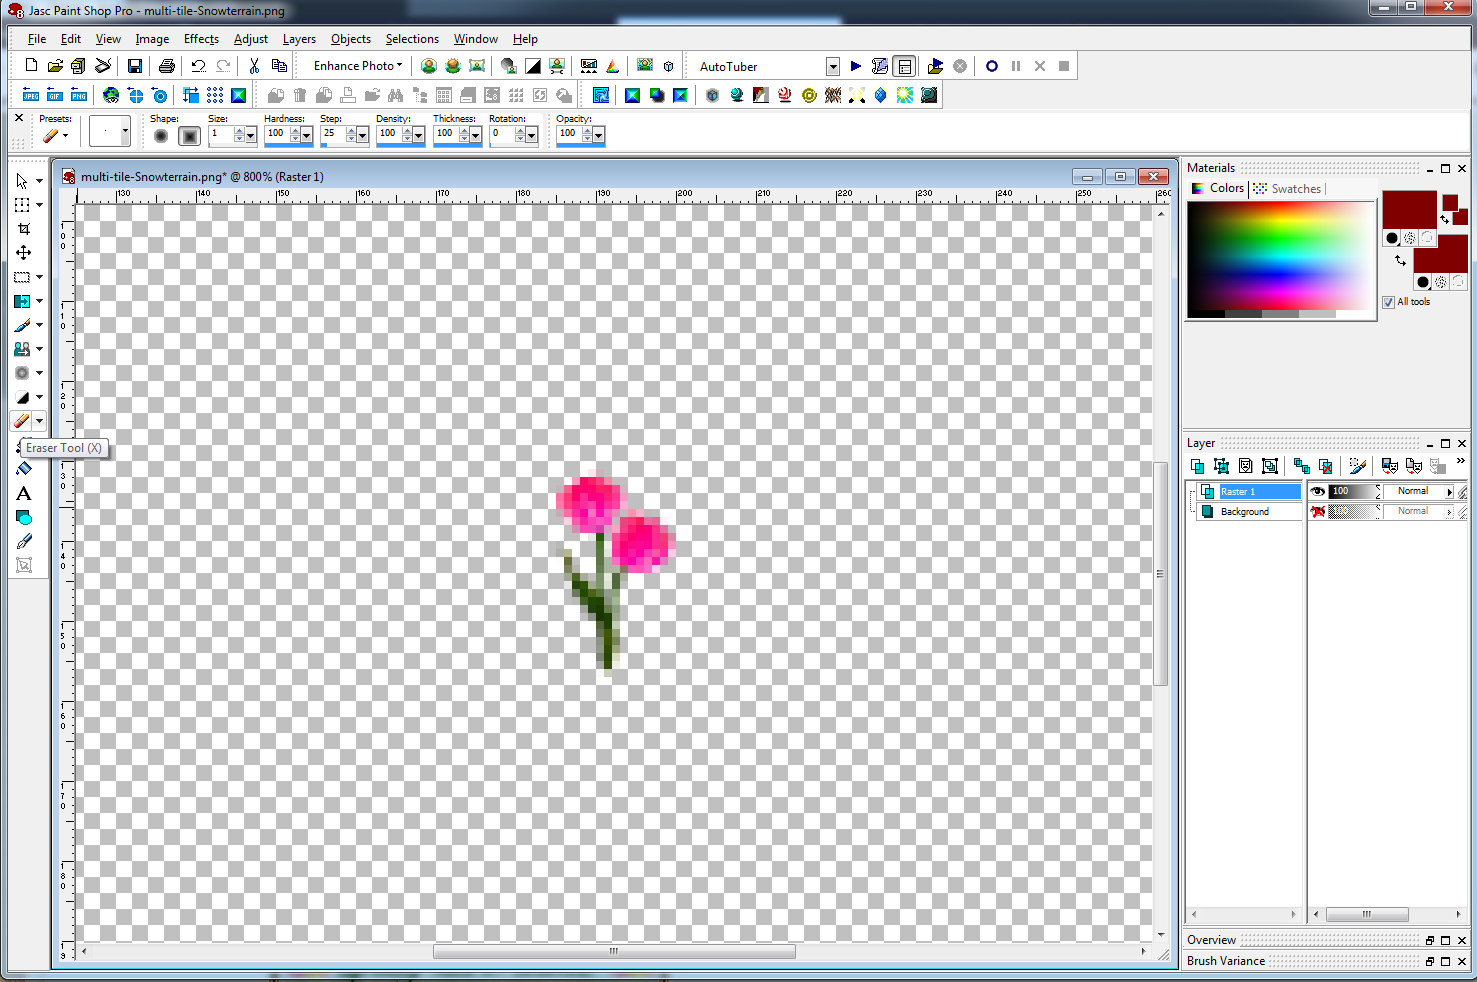
for shape we want square. for size we want 1 pixel for everything else just use the same numbers I have in the screenshot. And we are ready to start deleting some of the ghost pixels.
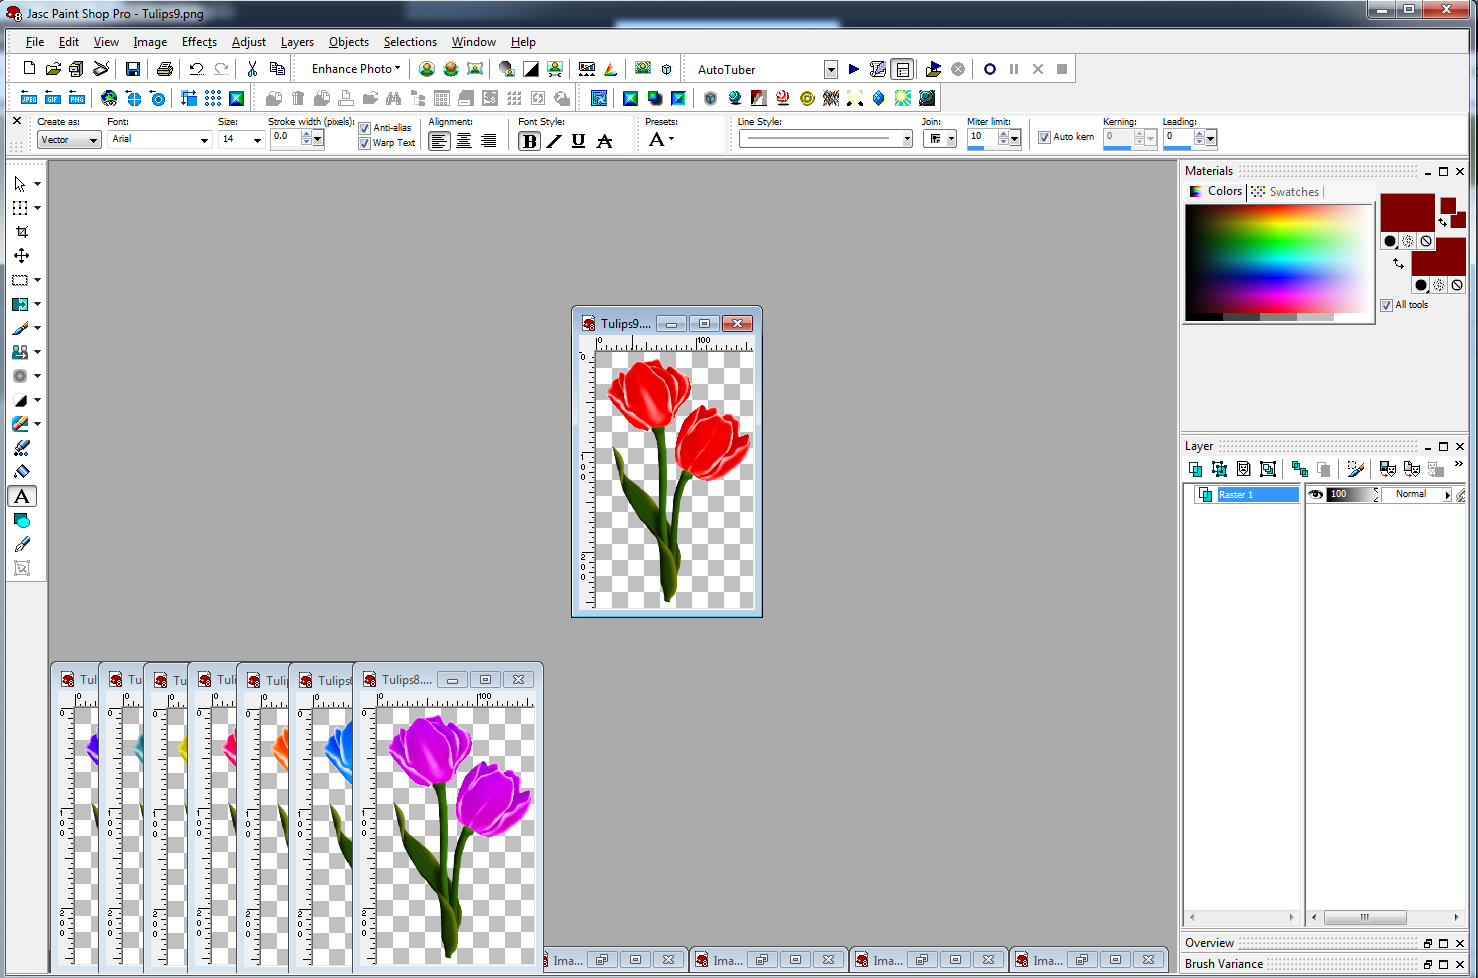
the ones I am going to delete look somewhat see through rather then the solid color of the rest of the flower and the same with the stem. this is what my image looked like after deleting the pixels I thought should be deleted. I did zoom in a tab closer by selecting view/zoom in by 1 twice.
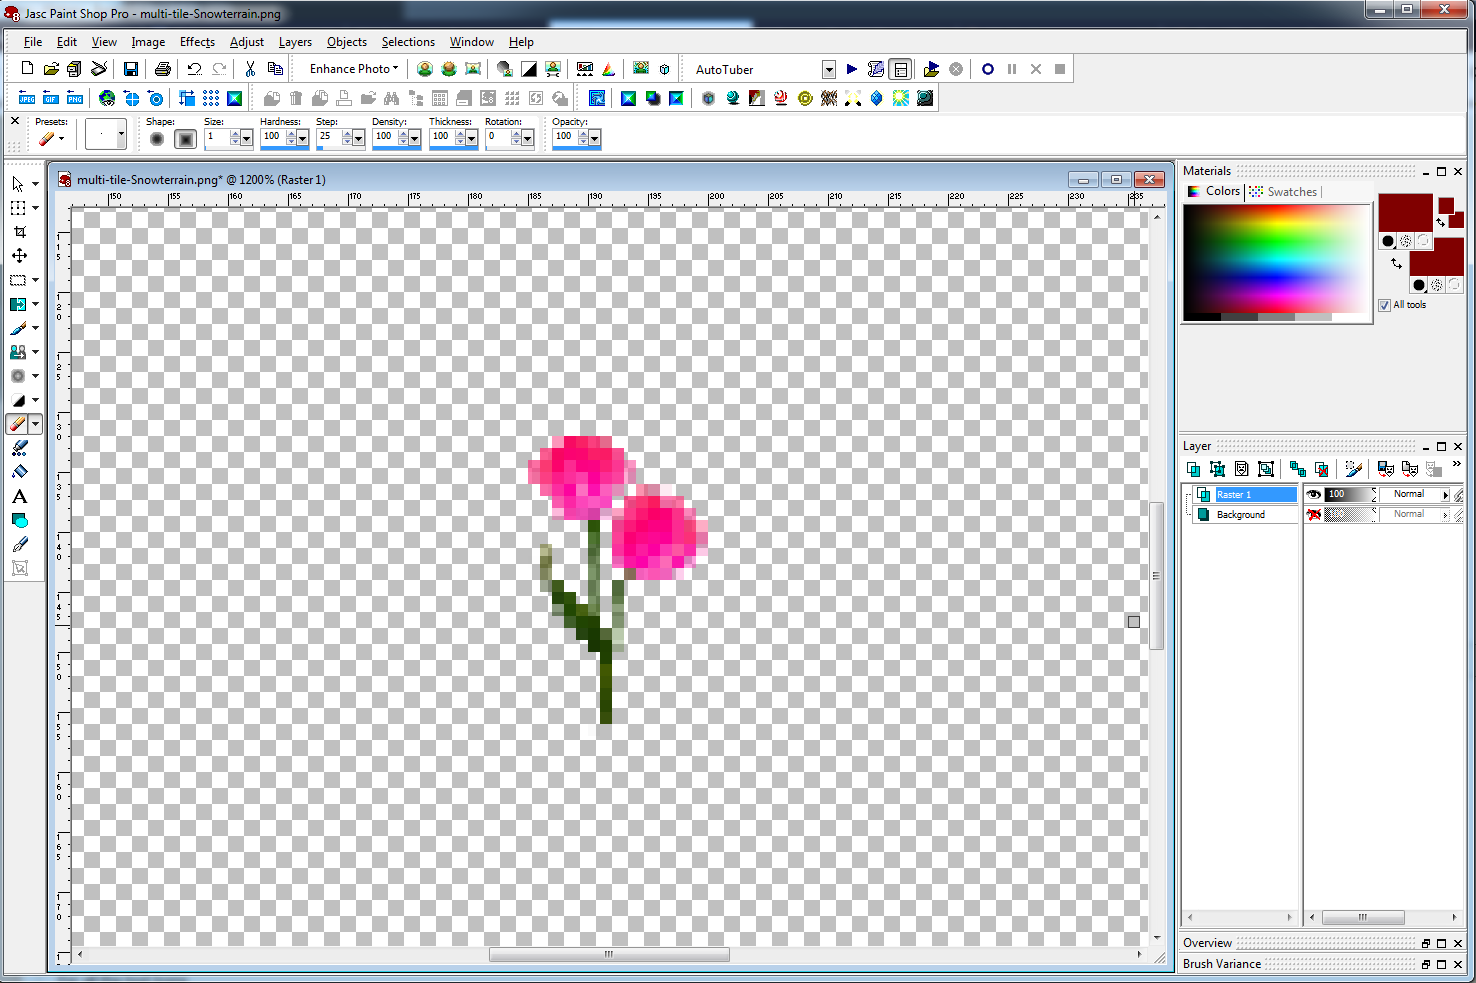
as you'll notice some pixels still have that see through opacity to them. these pixels will turn white in APE so now we are going to use the clone tool to solidify them a little more so we don't get the white in APE so select the clone tool from the left hand tools menu.
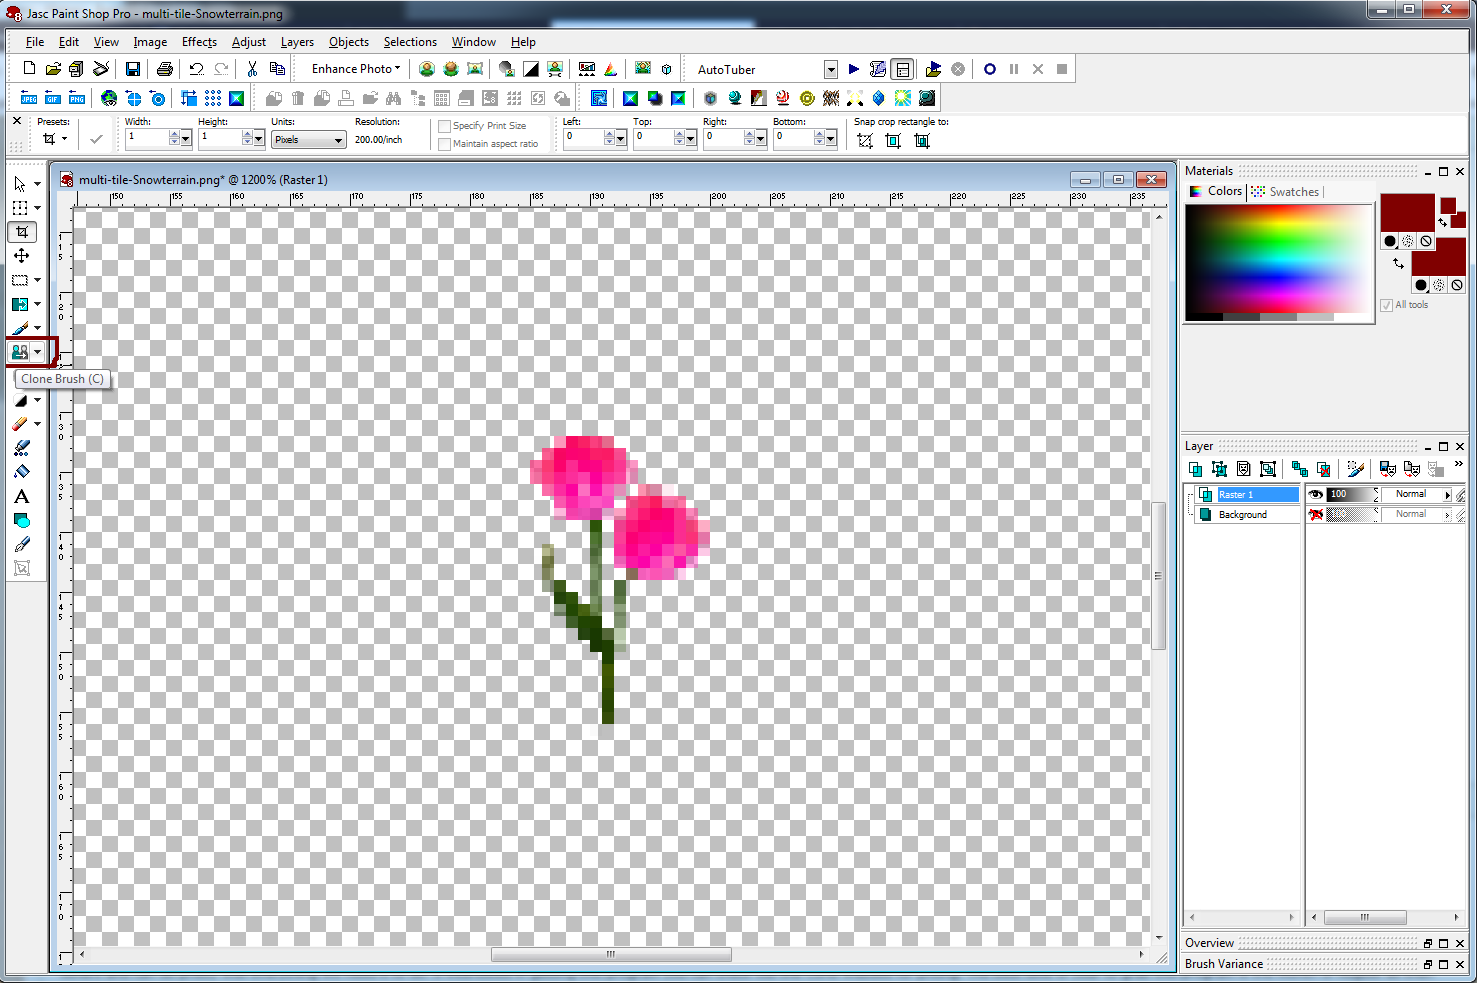
Again our preset changes in our tool options bar at the top of our workspace. The 3 most important settings in this preset are indicated in red. shape size and opacity make sure your settings are the same as mine. Or as close to it with your choice of graphics program.
Once you have your settings set select 1 pixel in your image. My cursor is not showing in these screenshots but as you can see from the circled area on my image the pixel I selected is outlined. With your pixel selected as I have right click that selected pixel a couple of times to be sure it registers as the selected pixel and then left click it without moving your cursor.
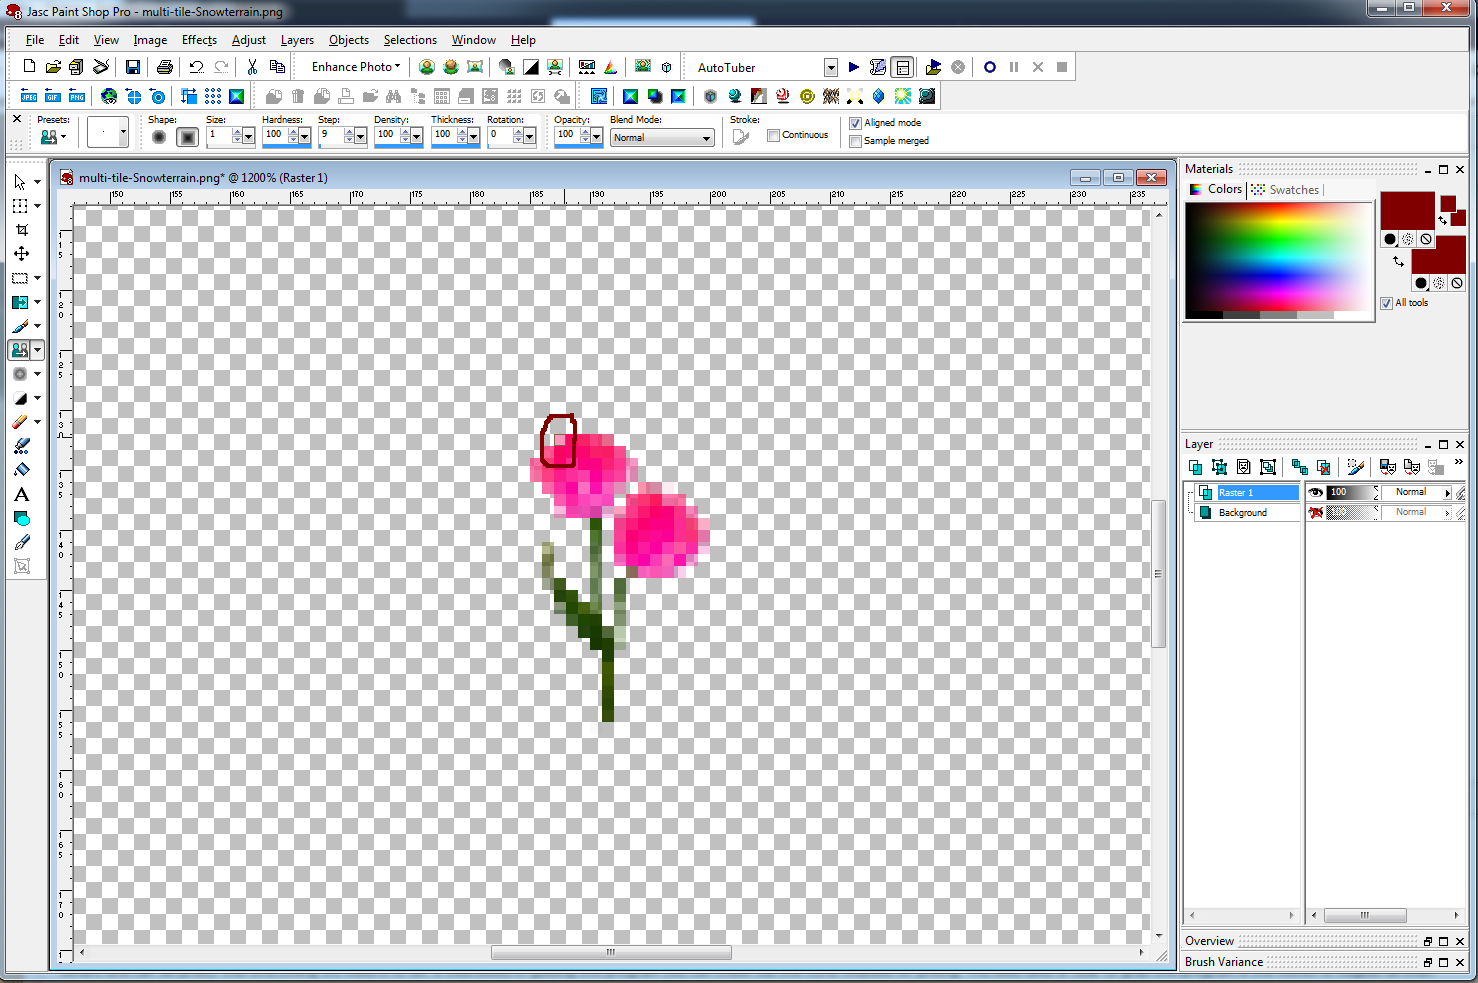
You'll notice immediately the pixel darkens and is is not so see through. repeat with the remaining pixels first selecting the pixel with a right click on the next pixel then left click on the same pixel and repeat until all the see through pixels are a more solid color as in this image. If your pixel that you just cloned is not yet solid enough just repeat your left clicks until they are solid enough to your liking.

with the eraser tool selected we now need to set up our tool options. if you look at the top of the workspace you'll notice the tube tool preset is now replaced with the eraser tool preset so just adjust your settings like mine.
for shape we want square. for size we want 1 pixel for everything else just use the same numbers I have in the screenshot. And we are ready to start deleting some of the ghost pixels.
the ones I am going to delete look somewhat see through rather then the solid color of the rest of the flower and the same with the stem. this is what my image looked like after deleting the pixels I thought should be deleted. I did zoom in a tab closer by selecting view/zoom in by 1 twice.
as you'll notice some pixels still have that see through opacity to them. these pixels will turn white in APE so now we are going to use the clone tool to solidify them a little more so we don't get the white in APE so select the clone tool from the left hand tools menu.
Again our preset changes in our tool options bar at the top of our workspace. The 3 most important settings in this preset are indicated in red. shape size and opacity make sure your settings are the same as mine. Or as close to it with your choice of graphics program.
Once you have your settings set select 1 pixel in your image. My cursor is not showing in these screenshots but as you can see from the circled area on my image the pixel I selected is outlined. With your pixel selected as I have right click that selected pixel a couple of times to be sure it registers as the selected pixel and then left click it without moving your cursor.
You'll notice immediately the pixel darkens and is is not so see through. repeat with the remaining pixels first selecting the pixel with a right click on the next pixel then left click on the same pixel and repeat until all the see through pixels are a more solid color as in this image. If your pixel that you just cloned is not yet solid enough just repeat your left clicks until they are solid enough to your liking.